

How To Install A Monotube Shock
HOW SHOCKS WORK
As a key part of your suspension system, shocks help give your vehicle a high level of steering, stopping and stability – all key things when trail riding or rock crawling. Replacing a bad shock is a straightforward process that can be completed by an experienced DIYer. Learn the steps for installing a monotube shock on your vehicle.
STEPS FOR REPLACING A MONOTUBE SHOCK
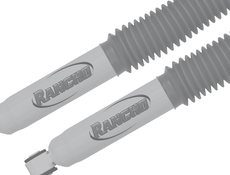
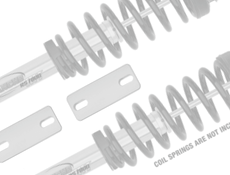
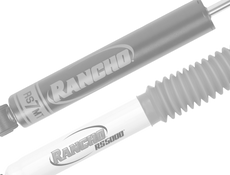
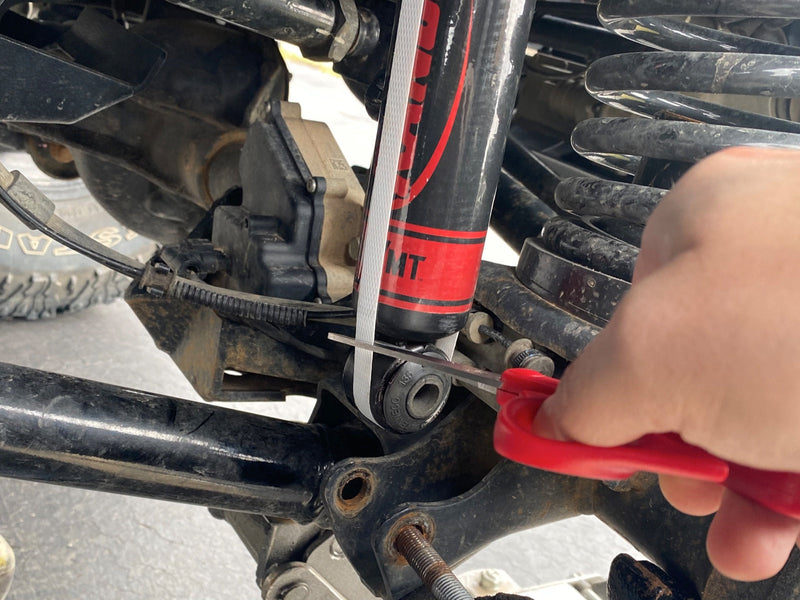
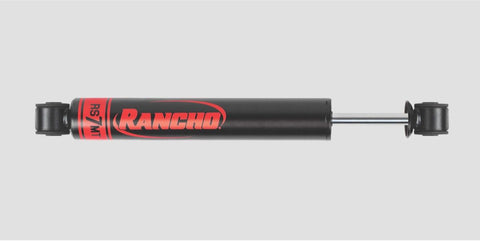
Before jumping into the repair, take time to examine the shock. You’ll notice that many monotube shocks, like Rancho®’s RS7MT shocks, come with a strap. This is for two reasons:
- To compress the shock for easy shipping
- To aid in installation – units have a high-gas charge need to be compressed from the factory to keep them from expanding. Note that once the strap is cut, the shock will start to expand and will be difficult to compress.
In addition, you’ll notice that the RS7MT shock has an integrated dirt wiper, which eliminates the need for a shock boot. If your monotube shock has a shock boot, it makes things a little more complicated; trying to fit a boot over the strap is tricky.
Step 1
Lift the vehicle and support the axle that you’re working on. If you’re able, allow the suspension of the vehicle to be “unloaded” so that there is more room to allow the fitment of the new shock.

Step 2
Remove the lower and upper mounting nuts and bolts. Save the hardware to use later.
Step 3
Remove the old shock.
Step 4
Clean the area if necessary. If there is anything that needs to be deburred, take the time to do that now. Have the new monotube shock (with the strap still on it) out of the box and ready to install.
Step 5
Mount the shock at the top and install the shock hardware loosely but make sure it is attached. Please note that the strap is still on the shock at this point.

Step 6
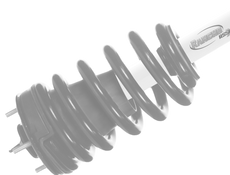
Cut the strap. Be prepared to move fast and line up the lower shock mount to the mount on the vehicle. You’ll want to have the bolt ready to go.

Step 7
Once the shock slides into the lower shock mount, install the hardware. Be careful: the shock may settle lower into the shock mount and be difficult to “move up” to get the bolt installed.

Step 8
Torque lower and upper mounting hardware to manufacturer specifications. Remove felt pad at the top of the shock body.

Step 9
Remove vehicle support and lower vehicle to the ground.Step 10
Ensure that lower and upper mounting hardware are torqued to manufacturer specifications.
Step 11
Repeat the procedure for the other side.
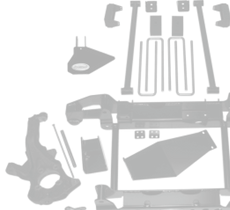
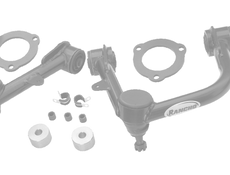
Learn more about performance control arm kits, find your performance suspension part, or find where to buy your shock or suspension part today.
The content in this article is for informational purposes only. You should consult with a certified technician or mechanic if you have questions relating to any of the topics covered herein. Tenneco will not be liable for any loss or damage caused by your reliance on any content.