How to Install and Adjust an Adjustable Track Bar
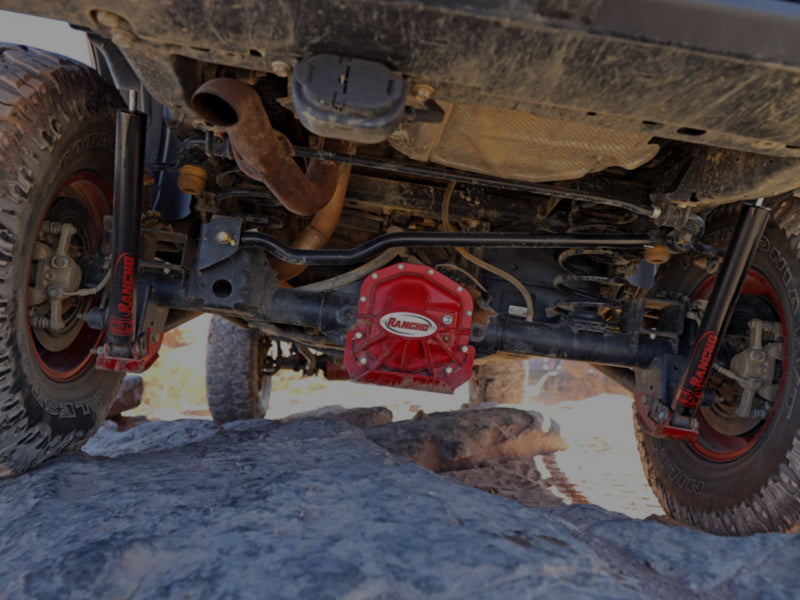
DO I NEED AND ADJUSTABLE TRACK BAR?
Important for proper alignment and geometry on a Jeep Wrangler or Gladiator, the track bar keeps the frame in line with the suspension and enables your vehicle to track straight. While most vehicles come from the factory with a fixed length track bar, when you lift a vehicle, the axle shifts to one side. An adjustable track bar allows you to recenter your Jeep’s axle. Learn when it is appropriate to replace the track bar.
HOW TO INSTALL AN ADJUSTABLE TRACK BAR
Whether you’re swapping out the OE track bar after adding a suspension lift kit to your rig or replacing a worn-out part, proper installation of an adjustable track bar ensures your vehicle can handle the rigors of the road or trail. Learn how to install an adjustable track bar on your vehicle.

Step 1
Park vehicle on a level surface. Set the parking brake and chock the wheels.
Step 2
Measure the axle center by measuring the distance from the outside face of the tire to fender edge. Use a plumb-bob or straight edge for reference. Record the driver side and passenger side measurements.
Step 3
Remove the track bar to frame bracket nut and bolt.
Step 4
Remove the track bar to axle bracket flag nut and bolt. Do not use impact wrench if flag nut is installed. NOTE: Remove steering stabilizer if it is preventing removal of track bar bolt.
Step 5
Remove track bar.
Step 6
Adjust length of the new track bar using old track bar and measurements from step 2 as a guide. If axle is shifted to the passenger side of vehicle, adjust track bar shorter than old track bar. If axle is shifted to the driver side of vehicle, adjust track bar longer than old track bar. Adjust bar half the amount that axle is shifted. CAUTION: Do not adjust longer than the track bar manufacturer’s recommendation.
Step 7
Attach non-adjustable end of track bar to frame bracket using OE hardware.
Step 8
Attach adjustable end of track bar to axle bracket using OE hardware. If holes do not line up, have an assistant SLOWLY turn the steering wheel to align holes.
Step 9
Torque upper and lower mounting hardware to the manufacturer’s specifications.
Step 10
Torque jam nut to the manufacturer’s recommendation. IMPORTANT: Re-torque mounting hardware and jam nut after first 100 miles, and every time vehicle is driven off-road.
ADJUSTING YOUR TRACK BAR
If you suspect that your track bar may be out of alignment, it is important to check it and make any needed adjustments. A track bar that is out of alignment can lead to extra wear and stress on other suspension components.
Learn more about performance control arm kits, find your performance suspension part, or find where to buy your shock or suspension part today.
The content in this article is for informational purposes only. You should consult with a certified technician or mechanic if you have questions relating to any of the topics covered herein. Tenneco will not be liable for any loss or damage caused by your reliance on any content.
